Doris Diaries 4: How To Fix Paint Chips
When I am looking to buy a new bike, one of the first things I look at is color. There are definitely more important things to consider when buying a bike (like components and stuff) but for me, it has to be pretty. My first race bike (discussed in Doris Diaries: How Not To Buy A Bike) was one that I bought second hand from eBay. I honestly didn’t know much about bikes at the time, but this Giant TCR W was really eye catching and had some things I was looking for; a nice drive train, a build in speed/cadence sensor, carbon fiber frame, and was blue.
The only thing that I viewed as a negative was that it came with a paint chip on the seat stay where the model name was. Being new to biking, I wasn’t sure how to fix this or if I even could do anything about it. I’m one of those people that organizes their closet by color and sleeve length so this paint chip was driving me crazy. Most articles online say to use paint (not anything water-based) but I didn’t want to buy an entire paint can for something so small. My boyfriend suggested that I just put clear nail polish over it but that wasn’t good enough for me. Maybe the carbon fiber would be protected, but that small imperfection would still be there. I did, however, think that the nail polish thing was a good idea.
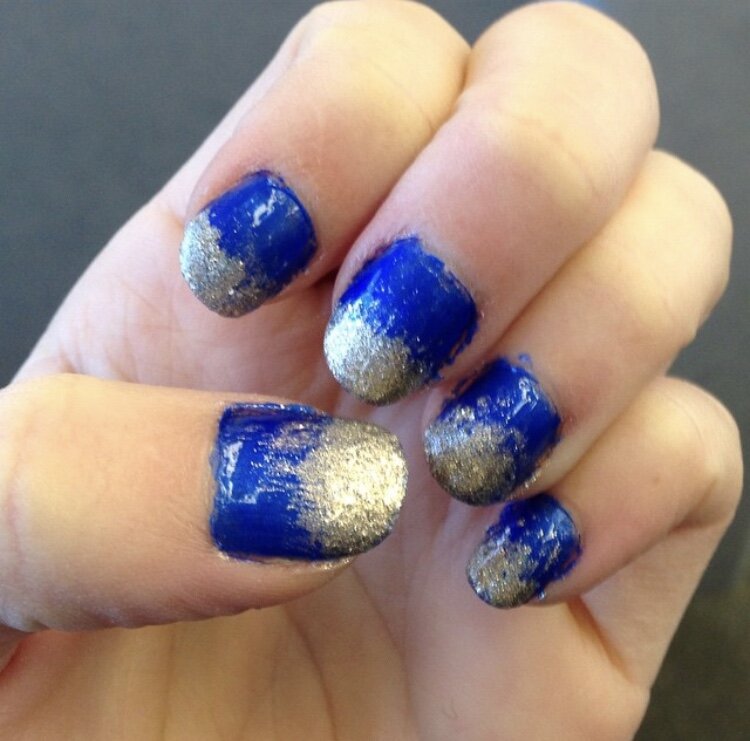

I used to do my nails a lot so I had a lot of different colors. I went through my collection and tried to match the colors with the pattern of the bike. Luckily, I had a lot of different shades of blue. I don’t think it turned out that bad. From far away, you definitely couldn’t tell that it was nail polish or even a chip in the first place. I could definitely live with it.

It took a lot for me to actually buy my new race bike (Luna) because it was so much more expensive than any other bike I had previously purchased and I wasn’t sure if I could justify spending all that cash. I had done a ton of research and it really was a huge step up in the sense that it came with Ultegra electronic shifting and I needed a smaller bike frame. What helped me pull the trigger on this purchase was that it was on Black Friday sale (I really cant resist a good sale) and it was blue.
So I welcomed Luna into my home and was very satisfied with my decision to go through with buying this FR2W. If I am being honest, I really cant stand that the rear brake caliper is beneath the crankset, but whatever. A couple months after riding her, I was doored coming off the GWB. I fell next to a fire hydrant and Luna also hit the ground. The first thing I did after I got up was check her over. I was devastated to find a small scratch on the right seat stay over the Felt logo. The feeling of seeing your very expensive brand new bike scratched really just sucks. When I got home, I knew how to fix it though. I got out my nail polish and went to work.

The scratch was over the “F”
What I would like to do is share how I have fixed my paint chips in case anyone is like me and can’t let their bike have a scratch on it.
Step 1: Look over the chip.
If it is a carbon fiber bike, make sure that the damage is only on the surface and does not affect the integrity of the structure. It can be really dangerous if carbon fiber is cracked, even the slightest bit. If you are the least bit uncertain whether there is any structural damage - take it to a bike shop and have a professional look. Seriously, do not take any risks with frame damage, it’s not worth it.
Step 2: Clean the area.
Make sure there is no grease or dirt because you want the nail polish to have a fresh surface to stick to. You can use a degreaser or soap and water.
Step 3: Make sure it is dry.
I think this is self-explanatory. You shouldn’t apply nail polish to a wet surface.
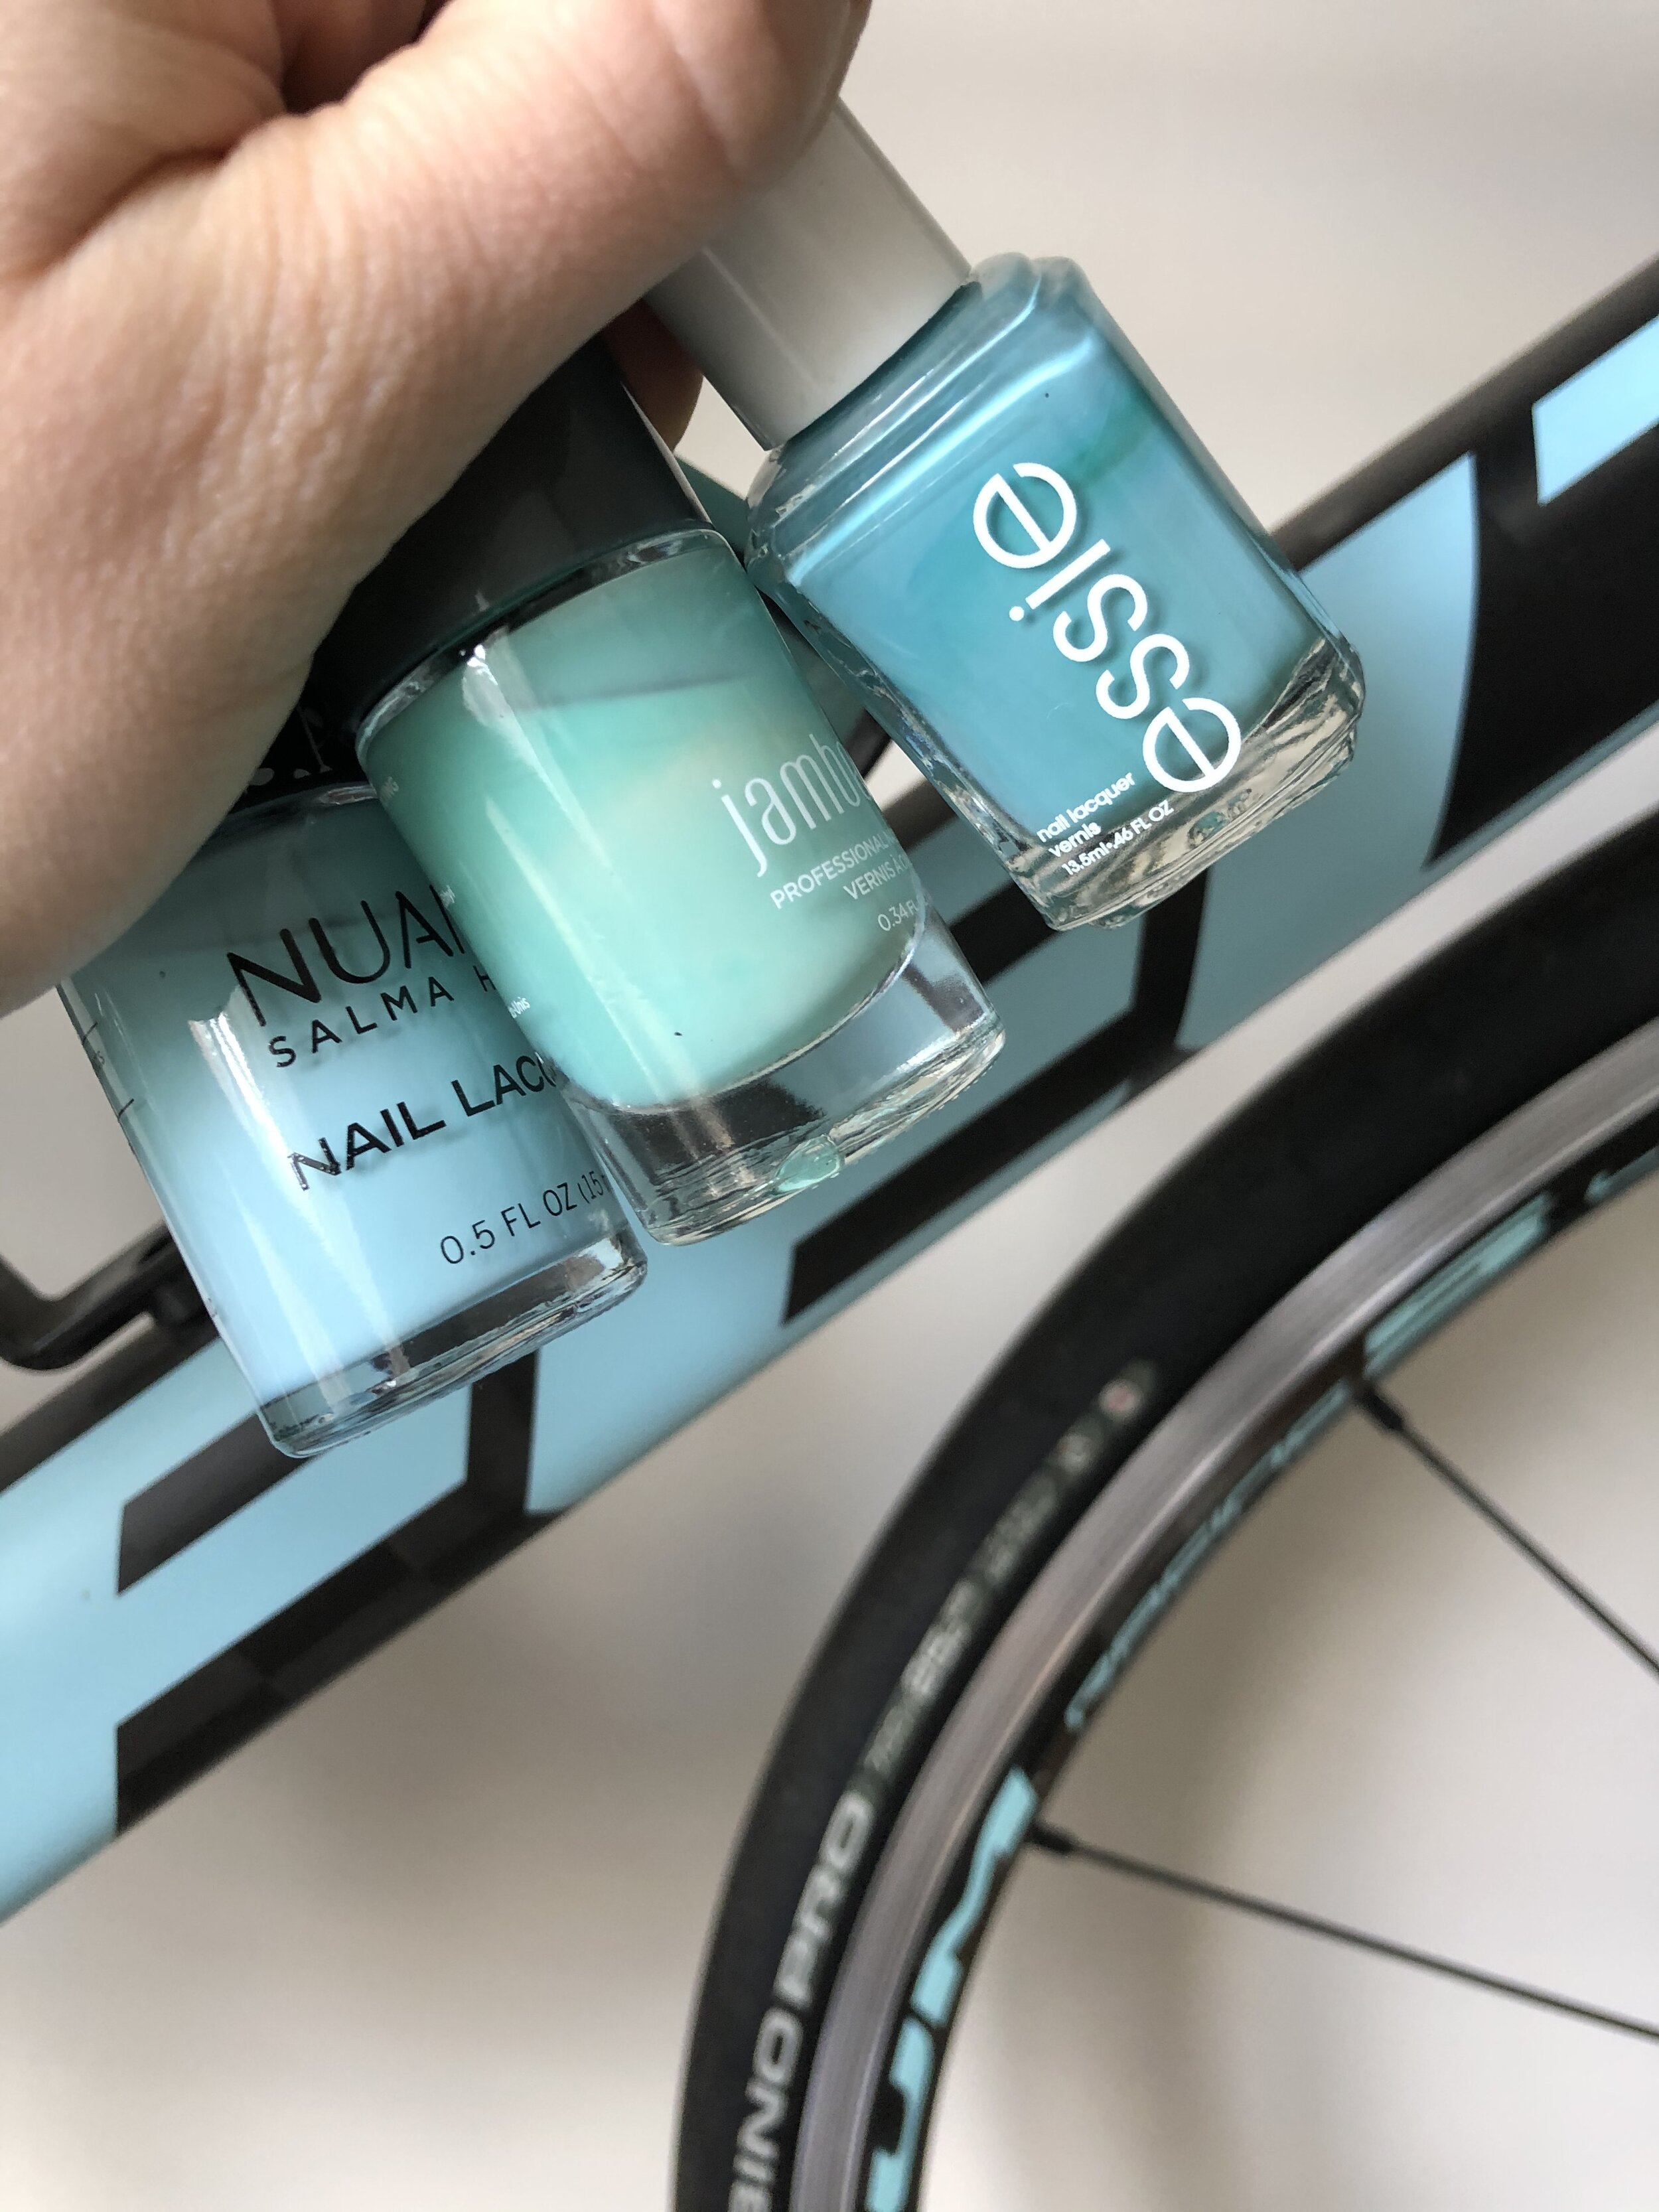
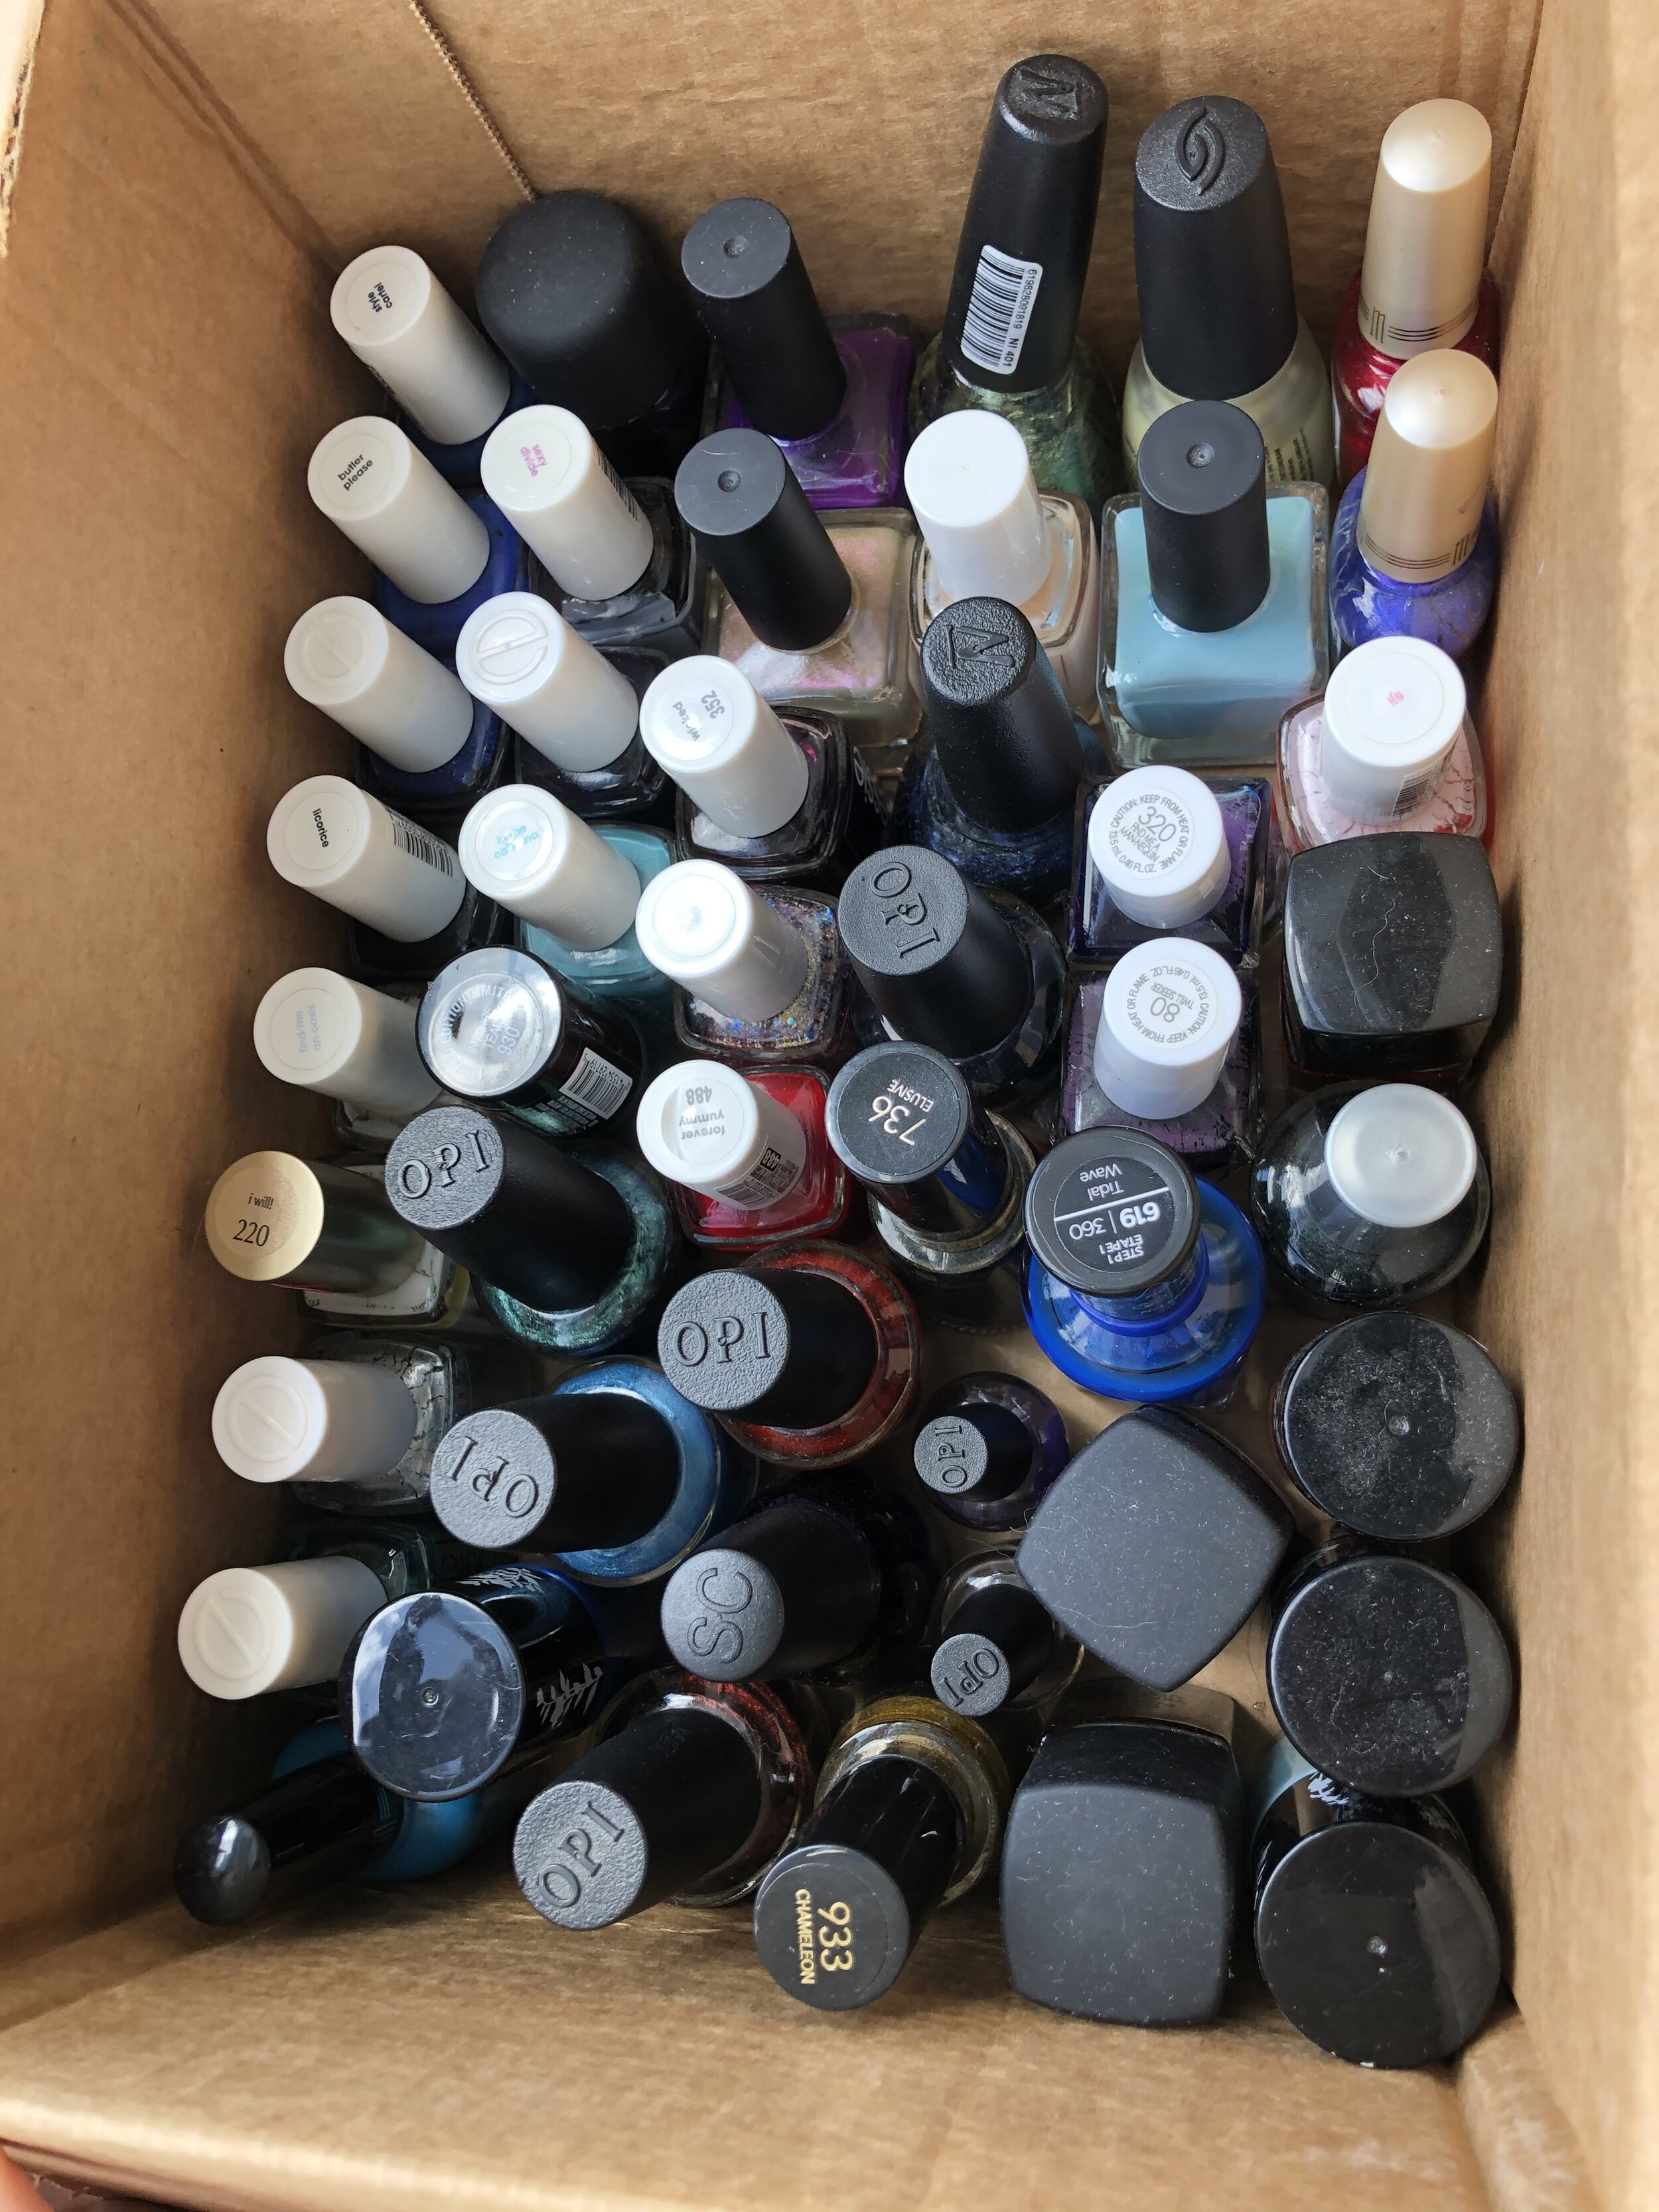
Step 4: Choose your color.
It definitely helps if you have a wide variety of colors. I have a lot of different nail polishes (as you can see) and it helps to put them next to the bike for shade matching. You should shake the bottle well so that the true color will show through. Taking the brush out and testing it on a napkin beforehand is also a good idea. Sometimes the colors look different once you apply them. If you don’t have the right shade, you can also take different nail polishes and mix them together in a plastic cup. If you do that, just make sure the brush you are using is clean of the original color.
Step 5: Apply a base coat (if you have it).
Nail polish companies make base coats (milky white or clear usually) that you put on your nail first to give a smooth palate to work with. If you don’t have a base coat, don’t worry about it.
Step 6: Apply the color.
You want to be careful when you do this. Make sure all the excess is off the brush because you don’t want to have a giant glob of color running down your bike. I will usually put a little bit on and wait for it to dry before putting more on. I like to do multiple coats so that way there isn’t a divot. The goal is to make it look like nothing ever happened so it might take a while to get it right. I also sometimes put on too much and have to wipe it away with my fingers.
Step 7: Apply a top coat (if you have it).
My bike has a glossy finish so I applied a clear top coat over the color to keep consistency with the rest of the bike. If it has a matte finish, do not apply a top coat. Some companies actually make a matte finish top coat which takes away the glossy look.
Step 8: Admire your work.
Take a look from afar and see what you have accomplished. Remember, it won’t be perfect but it will be good enough.

Before and after